There is an old saying, “Good fences make good neighbors,” that you will likely hear when buying or renovating a residential property. For the most part, this is very true as it delineates where your property ends and your neighbor’s land begins, and fences keep kids and pets from getting into the neighbors’ yards and causing chaos. Some relatively simple steps to installing your fence can make the process easier from start to finish.
Check the Regulations
The first thing you will want to do is check the regulations in your area for installations of this type. Do you need a permit? How far from the property line can you build your fence? If you are part of an HOA, is a decorative vinyl fence allowed or required? Once you know the answers to these questions, you can secure the permits, materials and labor needed for your fence.
Choose a Fence
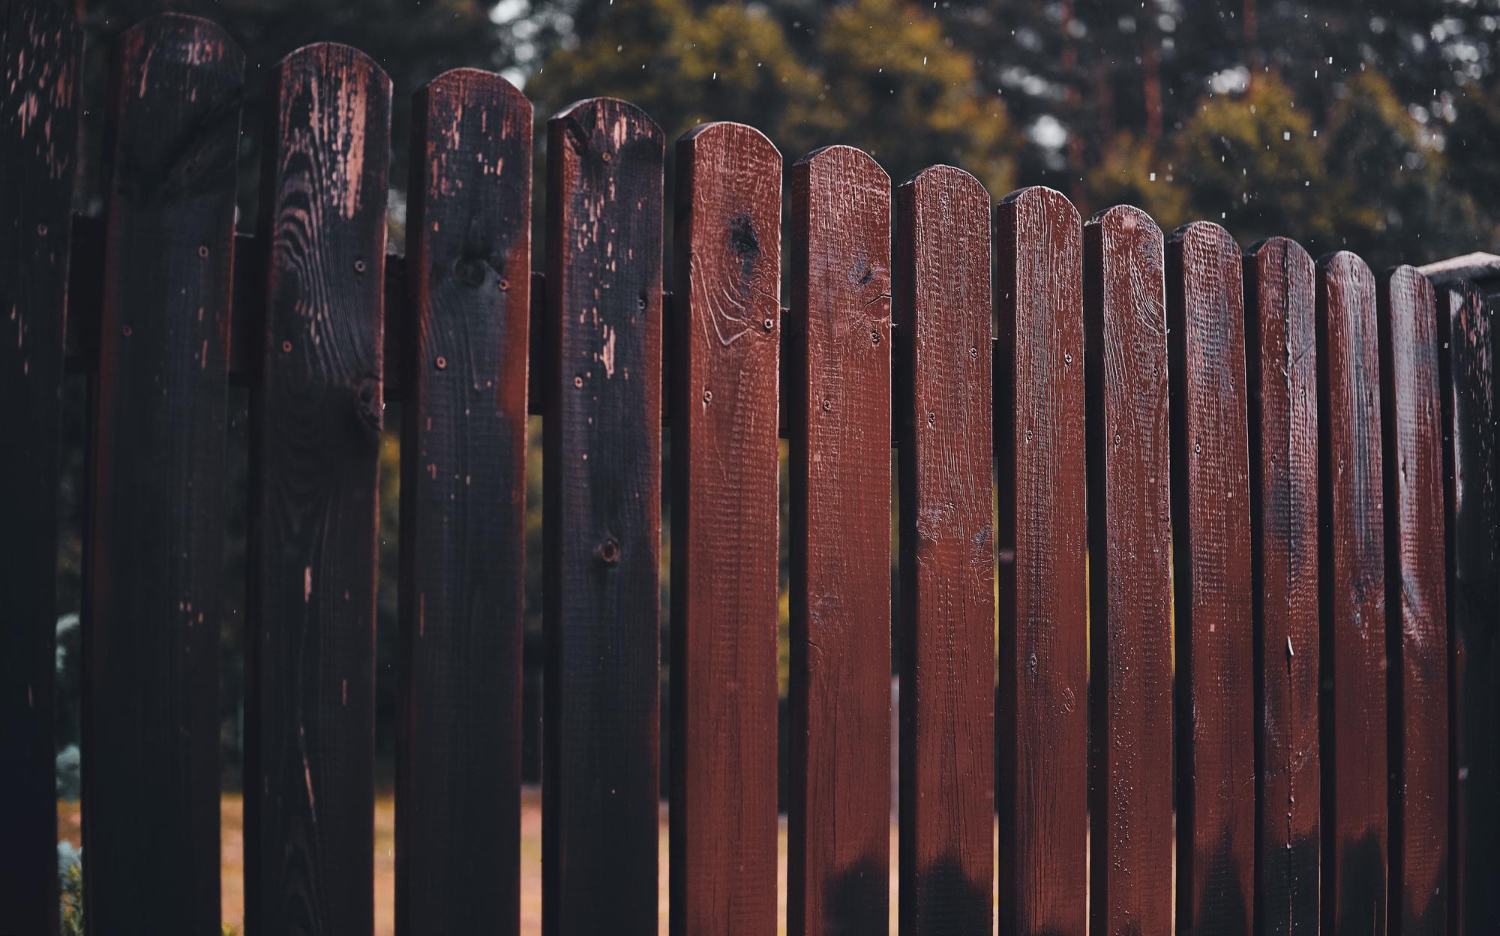
There are many materials to choose from when installing a fence on your residential property, such as vinyl, aluminum, wood and chain link. You can even select styles incorporating multiple materials, such as a chain link fence with a wooden frame. Manufacturers and vendors will have galleries online or in a local store-front to help you determine which material and style will best fit.
Research Installation Options
Once you know the regulations surrounding your fence and what materials and styles you want to use, it is time to determine who will install it. You can purchase all the materials, parts lists and instructions from the manufacturer for DIY fencing or have a third party install it. Some manufacturers and vendors will also offer in-house installation teams or be able to recommend a quality third-party handyman.
Installing a new or updated fence on your property can be an excellent way to increase your home’s beauty, privacy and functionality. Whether you want a vinyl decorative fence to highlight your property or a rugged chain link design to contain your pets, the steps and process are similar.