My do-it-yourself bathroom renovation project began simply when my wife and I grew bored of looking at the cheap linoleum and peeling wallpaper.
Our 1920s English cottage home includes some fine features, including hardwood floors in the dining room, a separate den with fireplace and a sun room, which is just big enough for a cozy Saturday afternoon conversation. It’s filled with conversation starters throughout, like the Indonesian witch doctor mask in the sun room and the Burmese bookcase which was carefully packed and shipped from Southeast Asia. But the main bathroom is outdated and just doesn’t fit in with the rest of our home, so it was time for an upgrade.
We have one and a half bathrooms, which I thought was adequate – but in a fit of envy, I discovered that the Census Bureau reports that of the 738,000 single family homes built in 2016, only 25,000 had one and a half bathrooms or less, but 273,000 had three or more bathrooms. Looking through The Plan Collection’s more modern designs reinforced the Census statistics, it’s easy to see the trend is towards larger homes – the median size of single-family homes is now 2,422 square feet. Yes, I wanted to keep up with the Joneses. Adding on physical space would be impossible, and in reality, the two of us don’t need any more than we already have – but a bathroom renovation would make me feel better.
Last year I decided it would be my fall project. It quickly turned into my winter project and is currently my spring project.
It is, finally, starting to take shape. It was, and is, purely a do-it-yourself project, accomplished without benefit of contractors, with the only assistance being a few old high school buddies who I rewarded with beer and hot wings. What I discovered along the way is that the journey is perhaps more interesting than the final product (although I’m not sure my wife would agree). There’s no experience quite as satisfying as sitting in a room with a friend or two, hands covered in spackle and grout, taking turns on the tile saw and slowly watching a dream take shape and become reality.
Step one: Bathtub drain
The first challenge before I did anything cosmetic was to try to repair the bathtub drain, which hadn’t worked right for the past five or six years. It drained very slowly, and then even after applying the strongest drain cleaners, improvement was minimal. Attempts at plunging also met with resistance, with water only pushing back out of the top overflow. Snaking in through the bathtub drain was similarly useless, with the snake only pushing down so far before it would get blocked by the position of the drain underneath. The blockage was obviously deep, and couldn’t be reached directly through the drain.
The solution: Go in through another entry. Rather than trying to snake in directly through the bathtub drain, I opened the panel on the other side of the wall, which is located in the closet in the guest room. Caution: I keep my suits in that closet, and learned the hard way – be sure to get things out of the way before you start snaking! There will be spatter. Be sure to have an empty coffee can or something similar to put under the pipe after you open it to catch the standing water.
I removed the panel, disassembled the pipe from the bathtub, leaving open the pipe at the outermost access. Then the snaking could begin in earnest, without having to worry about guiding the pipe through the drain around the curves. Finding the blockage hard to get through, I connected a power drill to the snake to give it some extra push.
Caution: When using the power drill on a drain snake, do so gently. Start out with just one or two seconds to get it going, then push it through manually again before power drilling again until you get through the blockage.
Success! It was messy – lots of thick, black gunk all over my hands, on the floor, and everything else in site. But the bathtub now drained quickly!
Step two: Bathroom floor
The existing bathroom floor had vinyl linoleum, which was all but impossible to pry off. We had selected some attractive ceramic floor tile we found on sale at Menards. The big question: Can I install the ceramic floor tile directly on top of the linoleum? Yes, I can! It’s simply a matter of mixing up the mortar, applying it directly on the linoleum, laying down the tile with spacers, and letting it dry before grouting. It worked wonderfully. Until it didn’t.
Ours is an old house, built in 1925, and as with most old houses, there are uneven spaces here and there, which are not always visible at first glance. Once I began the installation, it was all coming together nicely, but the next day, my wife noticed that one tile was cracked. Thinking the tile itself may have been cracked from the beginning, with the crack only growing after stepping on it, I pulled the cracked tile up and put on a new one. The next day, the new one was cracked too.
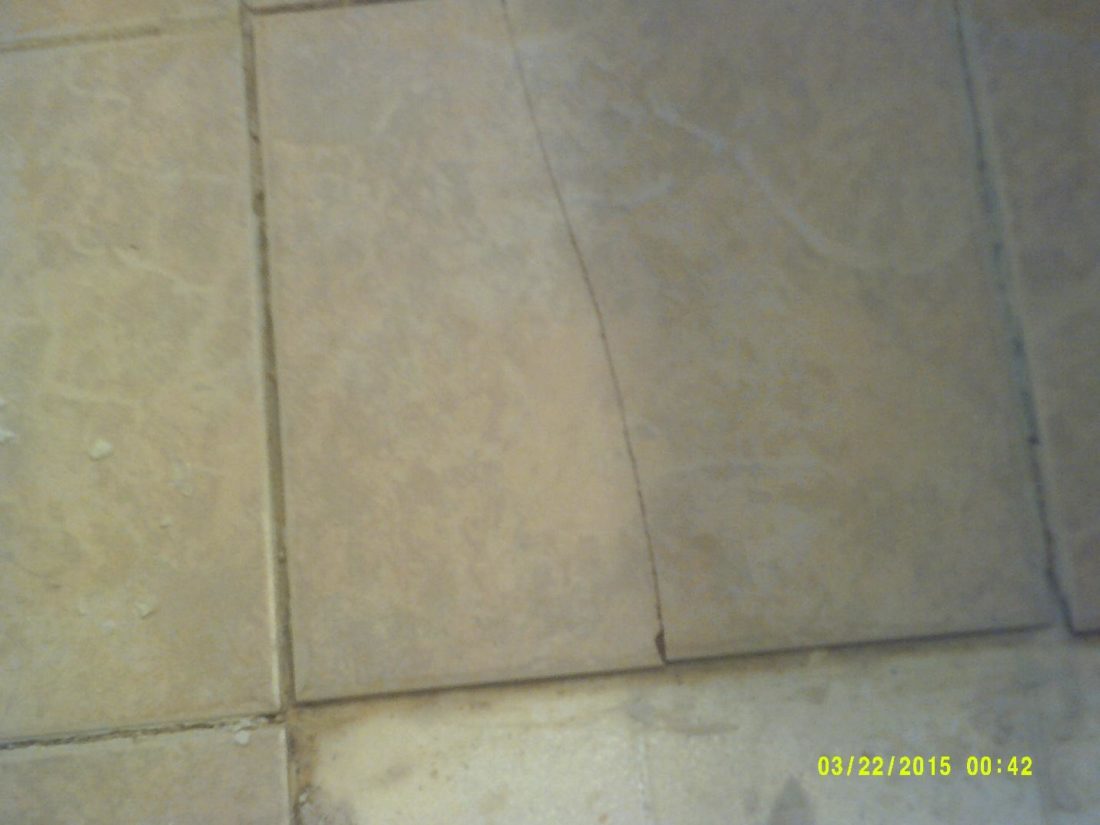
The others remained intact, it appeared that the crack kept appearing on that particular tile location because of a flaw underneath. Even though the floor looked perfectly straight, the only conclusion was that there was a small, imperceptible dip in the floor in that location, which when we stepped on the tile, caused it to crack.
The solution: The big, expensive approach would be to pull up the entire floor, re-install a subfloor and do it all over again from scratch. Way too much work! Instead, I pried up the cracked tile, cleaned off the dried mortar completely, and then created a sort of “mini” sub-floor for just that one area with some leveling compound.
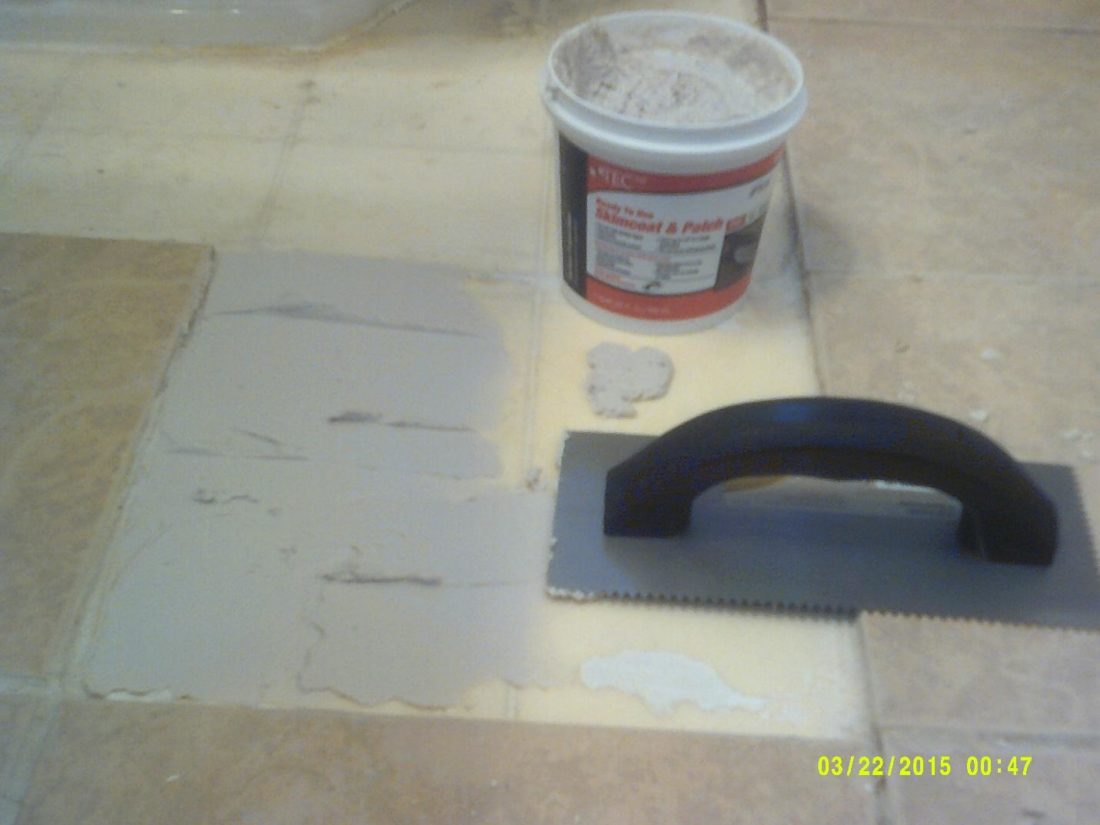
I applied a thin layer – not too thick, since we don’t want the tile to stick up above the others. I then smoothed it out, so that any small dips in that one area of the floor would be eliminated. I let the compound dry overnight. The next day, I applied the thinset mortar on top, as I normally would when placing a tile, again making sure to apply only a thin layer, so that the tile would not stick up above the neighboring tiles.
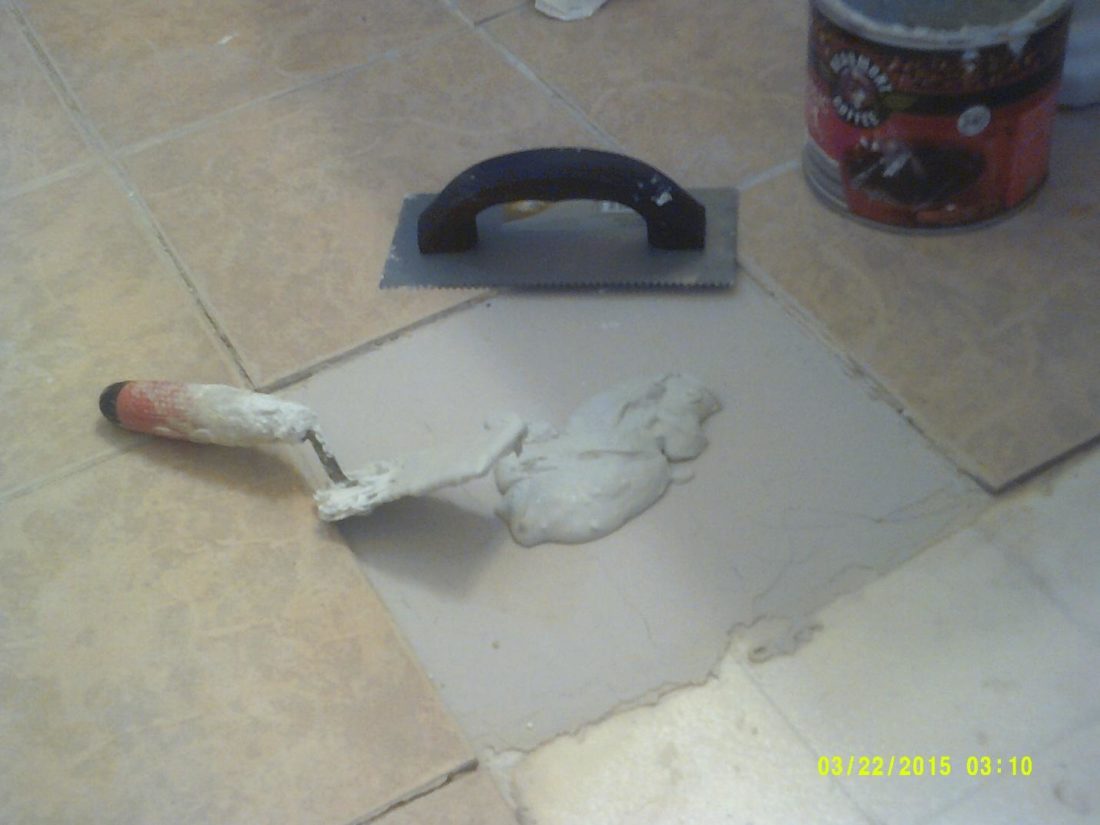
Then, simply apply the tile, push it down to eliminate any air pockets, and let it dry before grouting. After drying, there has been no other incidents of cracking.
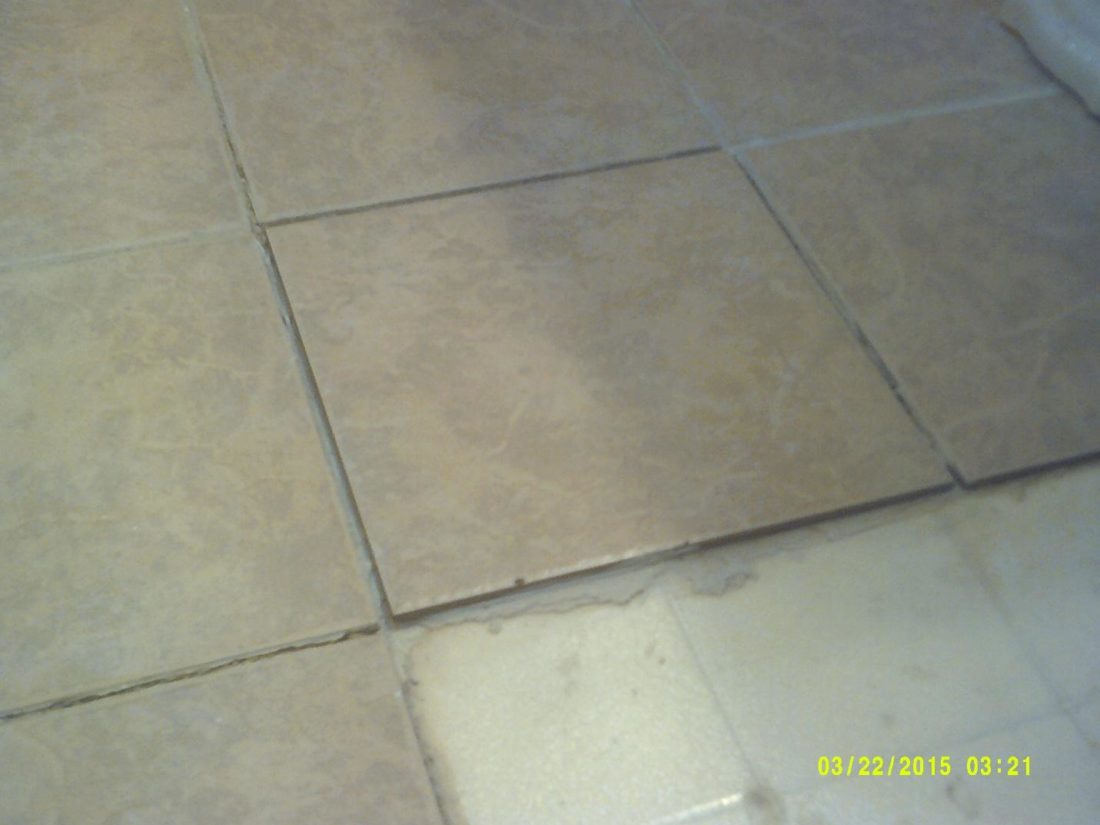
It was a quick and easy – and inexpensive – solution compared to the alternative of ripping up the entire bathroom. Once completed, the next step is wall tile, new bathroom sink, new toilet (the challenge there will be the broken shut-off valve), and finally, reglazing the bathtub, which I will show in Part Two.