Interest in green and eco-friendly homes is on the rise and moving to the mainstream. It’s no longer just an expensive curiosity – prices are down, installation is simple and the advantage of lower electric bills is undeniable. From an environmental perspective, it’s where we need to go in the future. A single kilowatt of solar power prevents 150 pounds of coal from being mined, 300 pounds of CO2 from being emitted, and 105 gallons of water from being consumed.
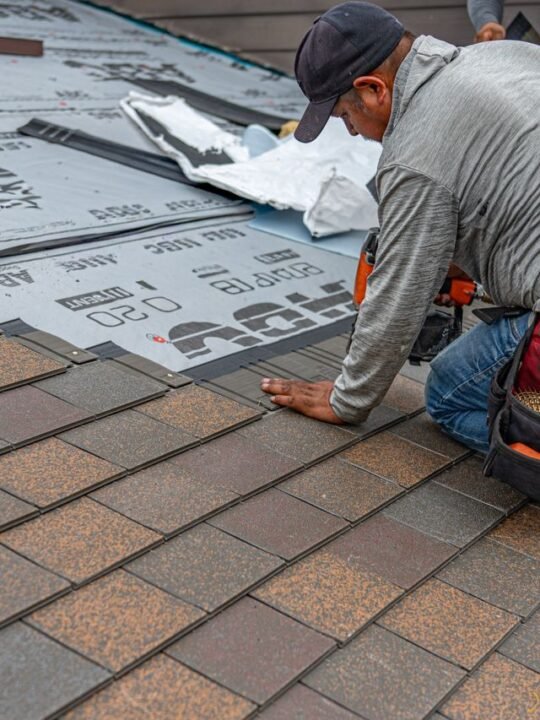
I put it off for years, thinking that it would be expensive, would require outside contractors (one guy doing the installation while four others watch), and would devastate my backyard landscaping. Granted, there are some installations that do require such things, but I decided to start out with some simple, do-it-yourself outdoor solar installations as a pain-free way to get started on my path to energy efficiency. I started the process with a solar lamp post light in the backyard, some solar spotlights to highlight my decorative water fountains and bird baths, and a motion-detecting flood light by the garage. I quickly discovered that most of these smaller items are easy to install, and I was able to do all three in a single Saturday afternoon.
A few tips before installation
Since there is no wiring involved, you don’t need to be an electrician, but you do need to figure out where to place your solar units so that they get maximum direct access to sunlight during the day. Most of the devices have small, self-contained solar panels, so making sure you don’t have too much shade is essential. I moved mine around a few times before I got it right – I found a sunny spot at first, but upon further consideration realized that, since it’s early spring and the leaves aren’t yet on the trees, that the spot would soon be covered with shade and had to reconsider.
Some of the larger units, instead of having a small, self-contained panel, have a separate panel that is attached to the unit with a cable, which lets you install the unit in a shady spot, so long as the panel itself gets sunlight. This does require an extra step – you have to run the cable, and depending on what you’re installing, you may need to bury it so you don’t run over it with your lawnmower later in the summer. Just dig down about six inches, run the cable through a plastic tube and connect it.
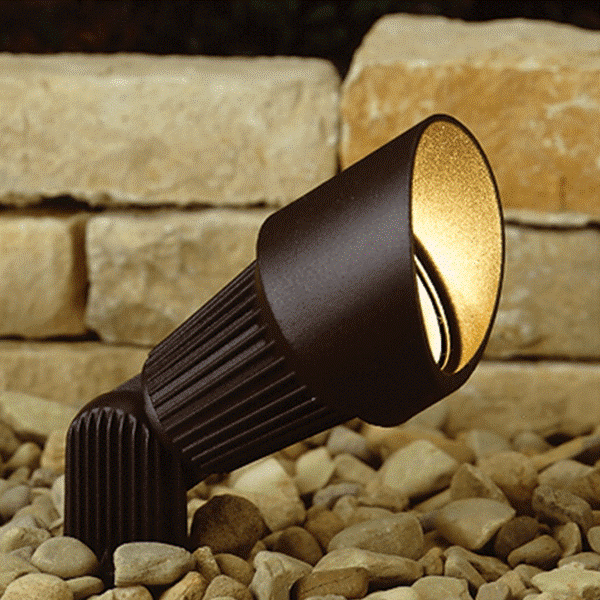
Selecting your solar products
The low-cost solar pathway lights are easiest – you just stick them in the ground. But these are purely decorative, and don’t provide much illumination. If you want your pathway to be lit well enough for you to find your keys when you come back home in the evening, you’ll need a solar spotlight or task light instead, and most of these will be equivalent to about a 40-watt bulb.
The brightness of your lights depends on a few factors: First, the amount of sunlight it is exposed to. But more importantly, it depends on the size of the LED bulb and the quality of the photovoltaic cells. I tested out a couple of the low-cost discount-store lights and found them all to be lacking in terms of brightness, and mostly made from cheap plastic which could easily break. I found more success with a higher-quality product with brighter lights by ordering online from Outdoor Solar Store.
Saturday afternoon installation
Once my order was delivered, I opened the packages and got ready for my Saturday afternoon in the backyard. As our Boston Terrier ran back and forth chasing squirrels, I started with a solar spotlight by the fountain. Since the fountain itself is close to the garage it gets a lot of shade, so I bought a spotlight with a separate panel and cord so I could place the panel in a sunnier spot, and run the cable over to where I wanted the spotlight.
I dug a path – and the dog helped – and ran the cord through plastic tubing purchased at Menards. It was easy to cut the tubing to fit with a hacksaw. I covered the hole back up and sprinkled a little grass seed on top. The spotlight comes on top of a spike, so I just planted it firmly into the ground by the fountain. By the next day, the panel was fully charged and the spotlight casting a wonderful glow on the fountain at night.
The solar lamp post wasn’t as difficult as I thought it would be. I already have an electric lamp post in the yard, so I didn’t have to plant the post in cement – I just had to remove the head, cap off the electric wires and put the solar one in its place. The solar panel is self-contained in the unit so it wasn’t necessary to run a cable to a separate panel like I did with the spotlight.
For the motion-detecting light by the garage, I wanted something bright enough to illuminate the driveway when I pulled up at night, and also to shine light on anybody that may be passing by. I ordered the commercial-grade 80-LED light, which was the brightest one available, which has a 180 degree motion sensor and can detect motion up to 35 feet.
These few items were inexpensive and easy to install, and provided a significant amount of lighting exactly where I wanted. Now I’m hooked! Next Christmas I’m planning on installing solar Christmas lights outside – and once I get around to building that backyard deck I’ve been dreaming of, it will be surrounded by solar deck lights.